Contents
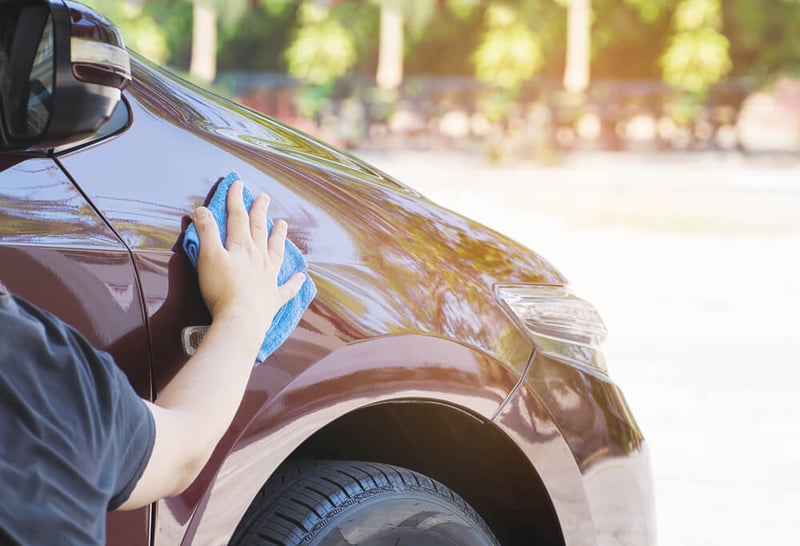
While most people wash their vehicles every now and then, the majority of drivers do not wax their cars. Waxing your car is one of the best ways to make it look great and protects its exterior. Although waxing a car takes a little elbow grease, it is not a terrible way to spend a Saturday afternoon. You will be proud of your hard work when you see your car gleaming in your driveway. Follow these steps to wax your car to a shine.
You’re reading one of our “Beginner Driver’s Guide” articles. Need to practice for your upcoming exam? Take our free sample driving test – no registration required! ✨
Tools and Materials You’ll Need
- Soap and chamois to wash your car
- High quality automobile wax
- Wax pad
- Microfiber towel
- Soft detailing brush
- Random orbital buffer (optional)
7 Steps for a Perfect Car Waxing
Here’s how to wax your car.
- 1
Purchase a High Quality Automobile Wax
There are two types of product that you can use when waxing your car: carnauba based car wax and paint sealant. Carnauba wax is made from the leaves of a Brazilian palm tree and provides a nice high quality shine. Paint sealant is a polymer based wax that provides a longer lasting shine and extra protection. You can typically find both of these types of car waxes at your local big box store or at most auto parts retailers. There are several national brands of car wax to choose from. While there is no need to splurge on car wax, it is a good idea to choose a product that is in the middle of the price range. The most popular form of car wax is packaged in a small tub, although auto wax is also available in spray and liquid form.
There are a lot of reviews online, and a number of websites let you compare prices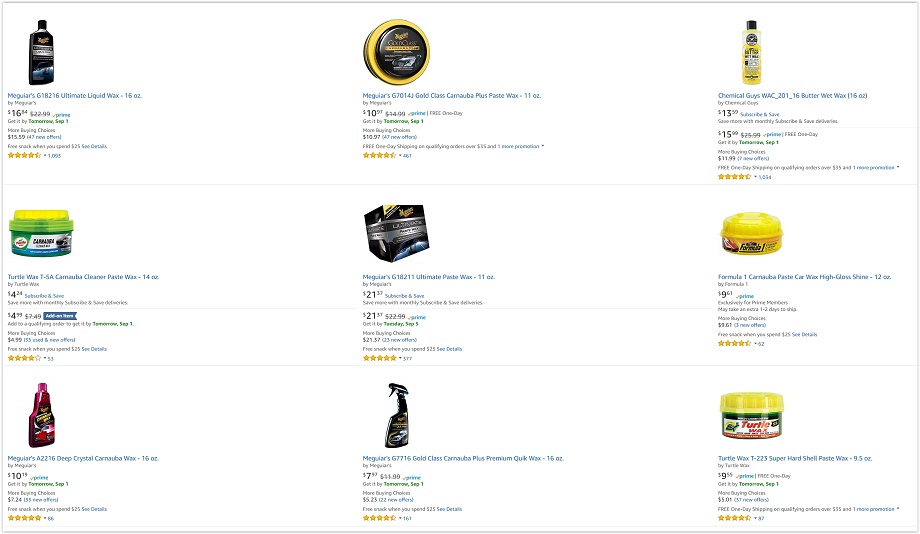
- 2
Wash Your Car
It is best to apply car wax to a clean, dry vehicle. Either take your vehicle to a car wash or wash it yourself before applying wax. Starting with a clean car is important as any dirt and grime that is left on the surface of the car may result in the paint’s clear coat becoming scratched when applying the wax. Pay special attention to the door jambs, door handles, and the area where the side of the car transitions to the underside as these areas are often neglected. Make sure that your vehicle is completely dry before applying any wax.
- 3
Read the Instructions
Depending on the brand and type of wax you are using, there could be different instructions on how to best apply the wax to your car. Make sure to read all the instructions and package inserts that may have come with the wax. Following the product’s recommended usage will ensure that the wax is applied correctly and you obtain optimal results from your effort.
- 4
Apply Wax to the Pad
If using automobile wax that comes in the tub format, open the package and remove the pad. Under the pad, there should be another lid. When opened, this lid should reveal the wax. If you are using a liquid paint sealant you will apply a small amount of sealand directly onto the waxing pad. For both wax paste and liquid paint sealant it is important to start with a small amount of product. As you continue to wax the vehicle, the pad will become more saturated with product so it isn’t necessary to use too much wax in the beginning.
- 5
Choose an Area of Your Vehicle to Begin Working on
It’s best to wax your car in sections so you can remember where you applied the wax and to prevent the wax sitting on the car for too long and drying out. If you leave the wax on the car for too long it becomes hard and very difficult to remove. It won’t hurt your car’s paint but it will make removing the wax very labor intensive and difficult. It’s best to start with one section of the vehicle then move on to the next. A good place to start is on the front fender panel located on both sides of the car above the front wheels and extending to the front of the vehicle. From here you would continue around the vehicle completing each section of the car until finished.
- 6
Apply it Using a Small, Circular Motion
Apply the wax using a small, circular motion. A thin layer of wax should be applied to the section of the vehicle you are working on. It is best to use either horizontal or vertical rows of circles to ensure that the entire area is covered. Try to avoid applying too much wax as it isn’t necessary and can actually make it more difficult to remove. A thin layer where you can still see the paint color through the wax is ideal. After you’ve applied the wax to your car, you’ll notice that within a couple minutes the wax will begin to dry. When the wax is dry, it will appear matte and feel somewhat chalky.
- 7
Remove the Wax With a Soft Cloth
Using a microfiber towel, chamois, or other soft cloth, remove the wax from the surface of your car. Start by applying gentle pressure to the cloth and using a circular motion to remove the majority of the wax. Once the visible wax is gone, you can buff the car using a fast circular motion to increase the shine and luster of the paint. After the wax is removed, the surface of your car should appear shiny and glossy.

Special Considerations
Pro Tip #1: Do the Work While Under a Cover
If possible, try to wax your car under some sort of protective cover. This could be a carport, tent, or other structure that provides cover from the elements. There are two main reasons why this is important.
The first reason is that on a sunny day the surface of the car can become incredibly hot. When you apply wax to the hot surface of your car the wax will almost immediately become dry and caked on. This makes it incredibly difficult to remove and you will be spending much more time and effort to remove the wax than would normally be the case.
The second reason to wax under cover is in the event that it starts to rain. If the surface of the car is wet, the wax will not adhere to the surface properly and will create a mess. The wax will run off the surface of the car and may get on surfaces you were not intending to wax such as molding and plastic body parts. These types of material can be difficult to remove wax so it is important to wax your car under a controlled environment.
Pro Tip #2: Use a Random Orbital Buffer
Another option for waxing your car is to use a mechanical buffer. These can save time and effort and make waxing your car a breeze. However, not all mechanical buffers are created equal. Rotary buffers are very common and people often use them to wax their car. The problem with rotary buffers is that they spin in a circular motion at high velocity. This can cause the edge of the pad to dig into the paint and cause “burn” marks which may or may not be permanent. The other issue is that rotary buffers can cause swirl marks due to their circular motion. This is due to the pad becoming dry and abrasive leading to micro scratches in the paint that look like swirl marks.
The best solution when using a mechanical buffer is to buy a random orbital buffer. This type of buffer moves the pad in a randomized pattern rather than circular. The result is an even application of wax without the risk of burning the paint or creating swirl marks. Both the rotary and random orbital buffers are similarly priced. If you are looking for a mechanical buffer then opt for the random orbital buffer.
Pro Tip #3: Use a Soft Brush for Gaps and Molding
No matter how hard you try to keep wax off of molding and out of cracks it’s almost inevitable that this will occur. That’s why it is a good idea to keep a soft brush handy while you are waxing your car. The brushes can be purchased at most auto parts stores and only cost a couple of dollars. Removing wax from a car’s molding after it has dried can be difficult and sometimes the wax will leave permanent staining. Wax left in the cracks and crevices between body panels will harden and become very noticeable once dry. To avoid both of these situations, use a soft brush to remove any wax from moldings or cracks and crevices before it dries.
Waxing your vehicle is a great way to ensure that it stays shiny and looking great. Waxing will work to protect your car’s paint from damaging sun rays, abrasive dirt, and chemicals in the rain and snow. Properly maintaining your car’s paint by regularly waxing can extend the life of your car’s paint and help keep your car looking good long into the future. Using the tips in this article, you’ll be able to wax your car like a pro and feel proud of your hard work when you drive around in your glossy car.
Free DMV Practice Tests
- Alabama
- Alaska
- Arizona
- Arkansas
- California
- Colorado
- Connecticut
- Delaware
- District of Columbia
- Florida
- Georgia
- Hawaii
- Idaho
- Illinois
- Indiana
- Iowa
- Kansas
- Kentucky
- Louisiana
- Maine
- Maryland
- Massachusetts
- Michigan
- Minnesota
- Mississippi
- Missouri
- Montana
- Nebraska
- Nevada
- New Hampshire
- New Jersey
- New Mexico
- New York
- North Carolina
- North Dakota
- Ohio
- Oklahoma
- Oregon
- Pennsylvania
- Rhode Island
- South Carolina
- South Dakota
- Tennessee
- Texas
- Utah
- Vermont
- Virginia
- Washington
- West Virginia
- Wisconsin
- Wyoming